A disorganized kitchen makes every meal feel like a chore. You burn time hunting for a lid, discover expired spices at the back of a cabinet, and watch the counters disappear under appliances. The good news is that a kitchen is one of the most satisfying spaces to reorganize, and the whole job fits in a weekend.
Step 1: Empty everything out
Take everything out of one cabinet at a time — not the whole kitchen. Empty the cabinet, wipe it down, and lay its contents on the counter. Seeing it all out in the open is the only way to make honest decisions.
Step 2: Declutter ruthlessly
Sort into four piles: keep, donate, relocate, trash.
- Toss anything expired, chipped, or duplicate.
- Donate single-use gadgets you have used fewer than twice. Most kitchens have a pasta maker, spiralizer, or sandwich press that saw one enthusiastic weekend.
- Be honest about the “maybe someday” items. If you have not used it in a year, it is not coming back.
Step 3: Create kitchen zones
Group things by where they are used, not by what they are. A well-organized kitchen has clear zones:
- Cooking zone: pots, pans, oil, and utensils near the stove.
- Prep zone: knives, cutting boards, mixing bowls near the counter where you chop.
- Coffee zone: machine, beans, mugs, and sugar in one corner.
- Baking zone: flour, sugar, mixer, and scales in a single cabinet.
- Cleaning zone: detergents and cloths under the sink.
Step 4: Make storage reachable
Put the items you use daily between shoulder and hip height — the prime real estate. Store rarely-used things (holiday platters, big stockpots) up high or down low.
- Stackable shelf risers double the usable height of cabinets.
- Door-mounted racks hold lids, foil, and spice packets.
- Pull-out drawers (or inexpensive sliding baskets) make the back of deep corner cabinets reachable.
- A turntable in awkward corner cabinets lets you spin to the back.
Step 5: Organize the drawers
- Use divided trays so utensils don’t become a jumble.
- Stand knives in a block or magnetic strip instead of tossing them loose.
- Store frequently-used tools near the stove, not in the far drawer.
Step 6: Clear the counters
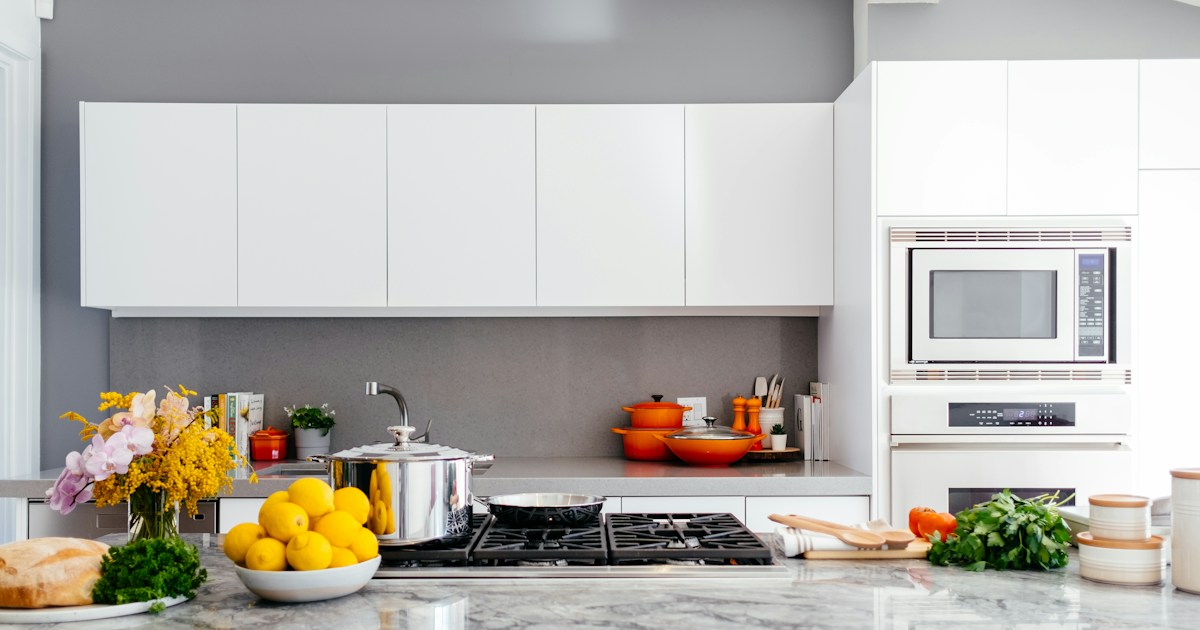
A counter with only three things on it looks twice as big as the same counter with ten. Keep only what you use daily on the counter — a coffee maker, a knife block, maybe a plant. Everything else earns its place inside a cabinet.
Step 7: Maintain with a simple rule
Once a zone has a designated home, everything must return there after use. Give new items a home immediately, and if you buy something new, consider whether it should replace something old.
A kitchen you can clean in ten minutes and cook in without searching is one of the quietest daily upgrades you can make to your home.